How to grow a fresh supply of chives
02/21/2019 / By Russel Davis
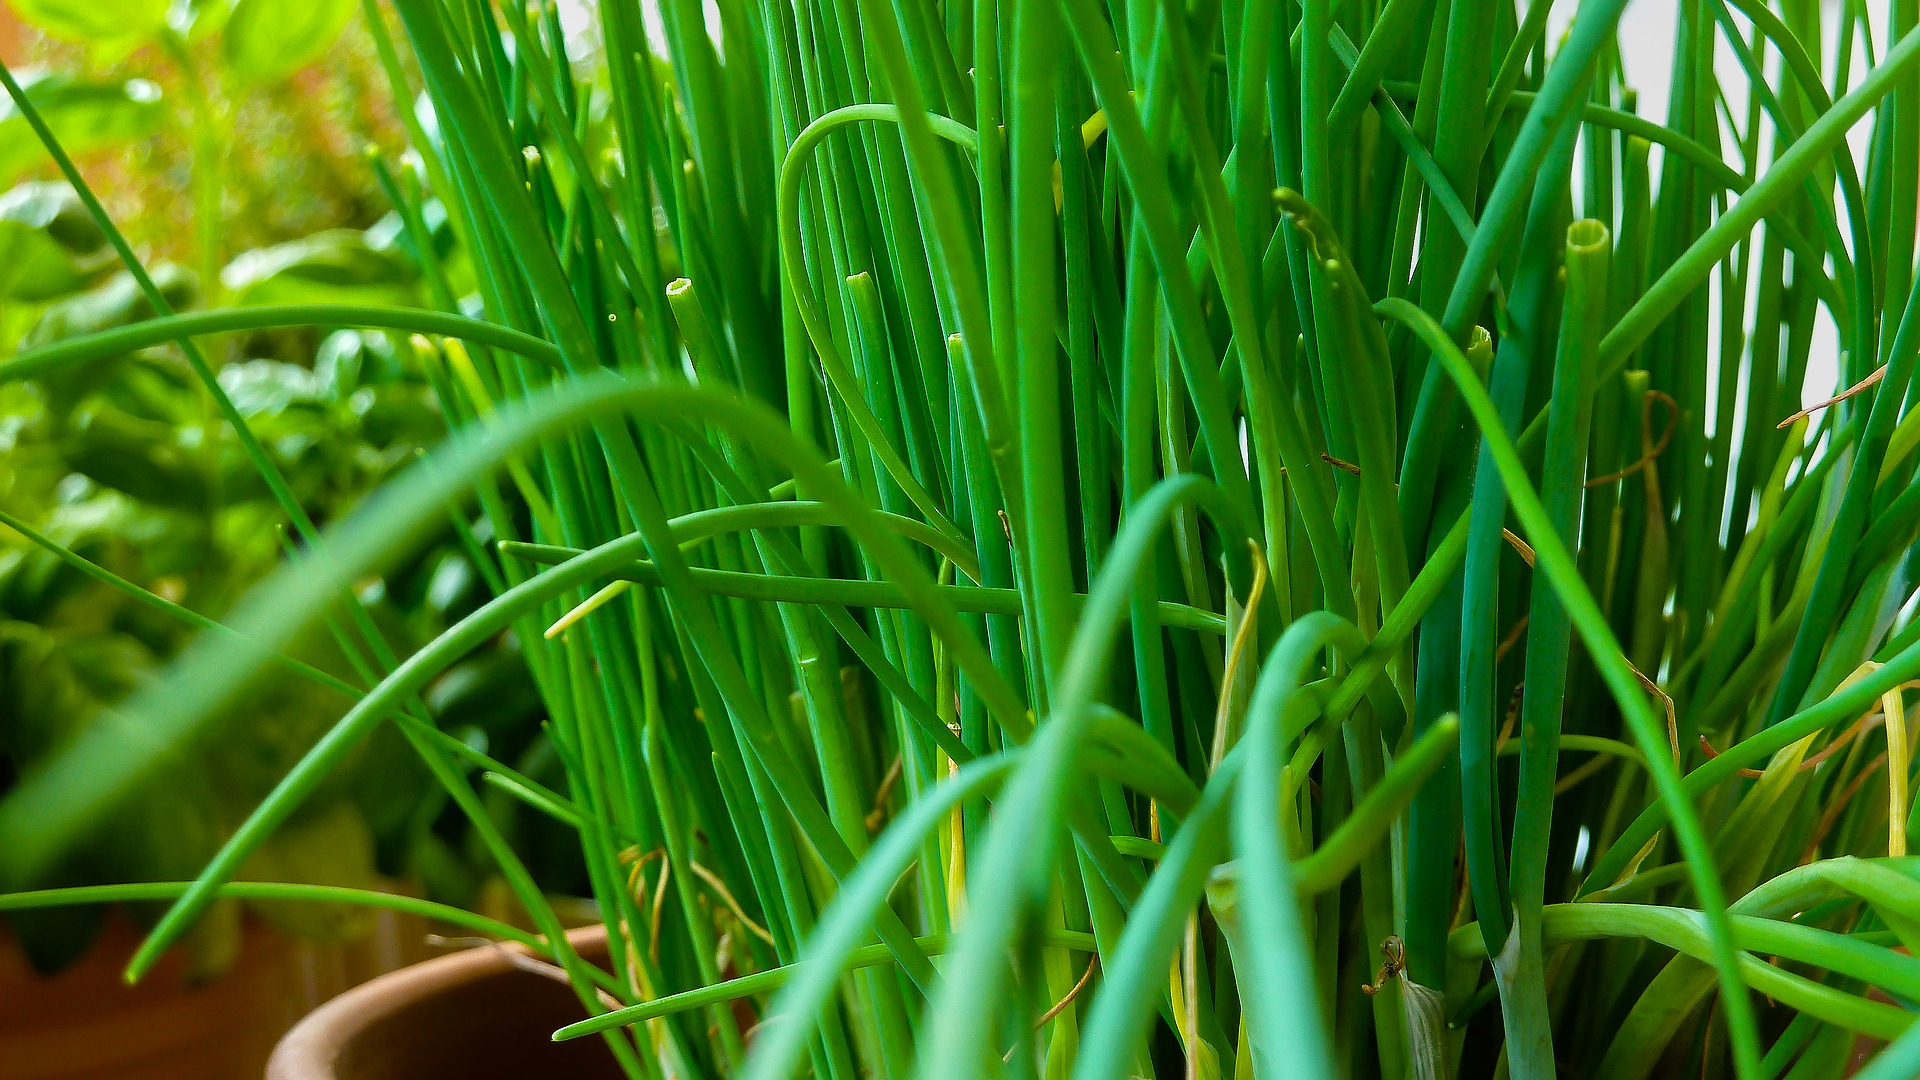
Chives are easily one of the most recognized herbs in the kitchen thanks to its versatility and flavor. This perennial herb of the onion family is a cool-season, cold-tolerant plant that is relatively easy to grow, especially during spring when it is in season. This article will walk you through the steps in growing the popular kitchen staple. (h/t to Almanac.com.)
Growing chives in a pot
Growing chives indoors makes perfect sense for anyone who has limited space. The herb is easy to grow and care for. Below are helpful tips in cultivating the plant indoors.
- Planting the herb — Chives can be grown in two ways: through clippings or seeds. When using clippings, simply push the stalk into the soil and press compost around it. The compost should be roughly 1/4-inch from the top of the pot. When you are using seedlings, gently sprinkle the seeds onto the soil and cover it with compost. Use mulch to discourage the growth of weeds. Chives germinate within two weeks.
- Choosing a location — This herb prefers full sunlight. Chives require sunlight exposure of up to six to eight hours, so it is ideal to place the herb near a southern or eastern facing window where it will be exposed to sunlight. If a window is not available, artificial lighting can facilitate the plant’s growth. You may use a fluorescent fixture six to 12 inches above the pot. Using two 40-watt bulbs works are recommended.
- Caring for the herb — Chives require a great amount of moisture to cultivate. Water the plant regularly to make sure the soil remains moist. The plant also requires low dose fertilization. A water soluble fertilizer can be applied two times a month.
- Harvesting the plant — Chives can be harvested when they reach between six to 12 inches in height. Trimming the tops may also be helpful as it prevents the stalks from being woody.
Cultivating chives in-ground
Chives are equally easy to grow in the garden. (h/t to Indoor-Gardener.co.uk.)
- Treating the soil — Chives usually prefer moist, fertile, and well-draining soil. Before planting, you may amend the soil with four to six inches of well-composted organic matter and apply two to three tablespoons of all-purpose fertilizer for every square foot of the planting area. Incorporate the compost and fertilizer with the soil to a depth of six to eight inches.
- The seeds/transplant — You may either use seeds or transplants to start their cultivation. Start planting the seeds indoors about eight to 10 weeks prior to the last spring frost. These seeds require good growth before being transplanted to the garden. If you prefer growing from seeds, keep in mind that the soil should be around 60 to 70 degrees Celsius before sowing to ensure optimal growth.
- Caring for the plant — Chives need an adequate and consistent water supply throughout the growing season to produce great yields. Regularly moisten the soil to prevent the plants from drying out. You may also use mulch to prevent the growth of weeds. Fully grown chives require minimal care. Chives flower in May or June. Trim the flowers to ensure that the seeds do not scatter in your garden. The plants should also be divided every three to four years in the spring.
- Harvesting chives — Chives can be harvested 30 days after the transplant, and 60 days after seeding. When harvesting, be sure to cut the leaves down to the base. You may harvest garden-grown chives three to four times during the first year. (Related: 15 Herbs That Can Do Magic To Your Health.)
Read more how-to gardening guides at HomeGardeningNews.com.
Sources include:
Tagged Under: chives, gardening, gardening skills, gardening tips, home gardening

